Table of Contents
- Why 70s Home Layouts Need Custom Cabinets
- Modernizing 1970s Kitchen Floor Plans Without Demolition
- Best Practices for Retrofitting Cabinets in Ranch-Style Homes
- Kitchen Cabinet Replacement Cost 2024: What to Expect
- Design Choices That Work for 70s Custom Cabinets
- Material Durability for High-Traffic Ranch Kitchens
- Conclusion: Making Your 70s Home Work for You
- Frequently Asked Questions
Last Updated: September 13, 2026
Why 70s Home Layouts Need Custom Cabinets
Homes built in the 1970s were framed around standard 24-inch base cabinets and a rigid work triangle that assumed a single cook (Manufactured Housing HUD Labels (Tags)). That geometry rarely survives a modern family, a double-door refrigerator, or a countertop appliance collection. This guide from Utah Cabinet Works explains how custom cabinets solve problems stock sizing cannot.
70s kitchens were built to a formula: shallow boxes, uppers that stopped short of the ceiling, and soffits eating the space above. Stock replacements inherit every one of those compromises. Custom cabinets for 70s home layouts let you match the room you actually have instead of forcing it to match a catalog.
Walls in these homes are often out of square, floors slope, and ceiling heights vary. A cabinet built to the room, not a standard dimension, closes those gaps cleanly.
The single biggest reason stock cabinets disappoint in a 70s kitchen is that the room itself is irregular. Custom sizing is what turns an awkward footprint into usable storage.
Modernizing 1970s Kitchen Floor Plans Without Demolition
You can modernize a 1970s kitchen floor plan without demolition by refacing or replacing cabinet boxes in place, keeping existing plumbing and electrical rough-ins. This preserves the structural envelope while changing how the room functions and looks, faster and less disruptive than a full tear-out.
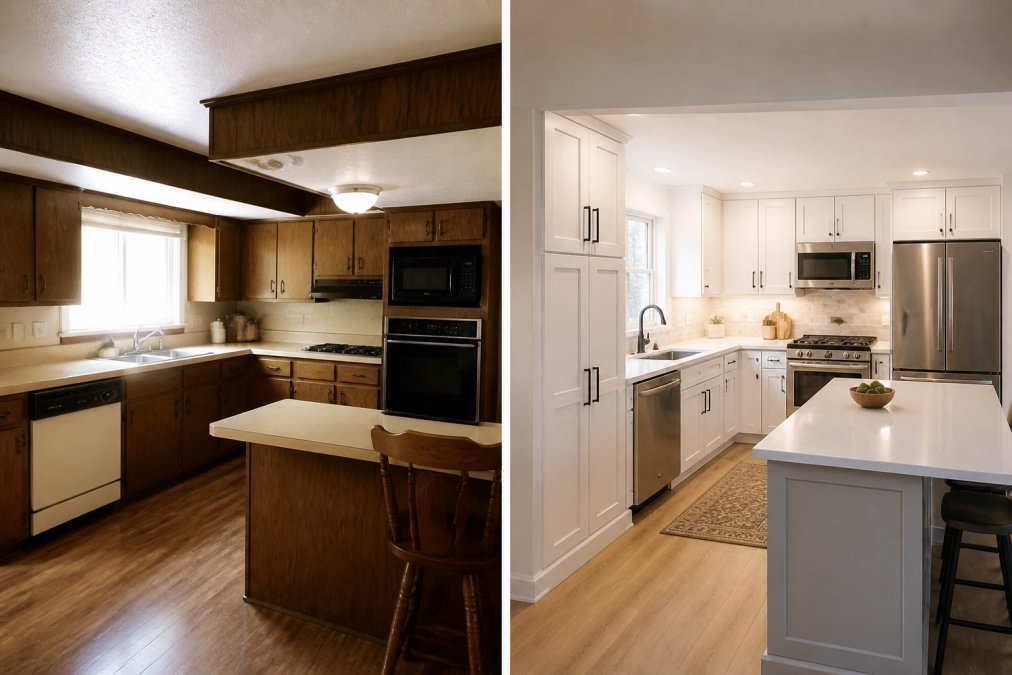
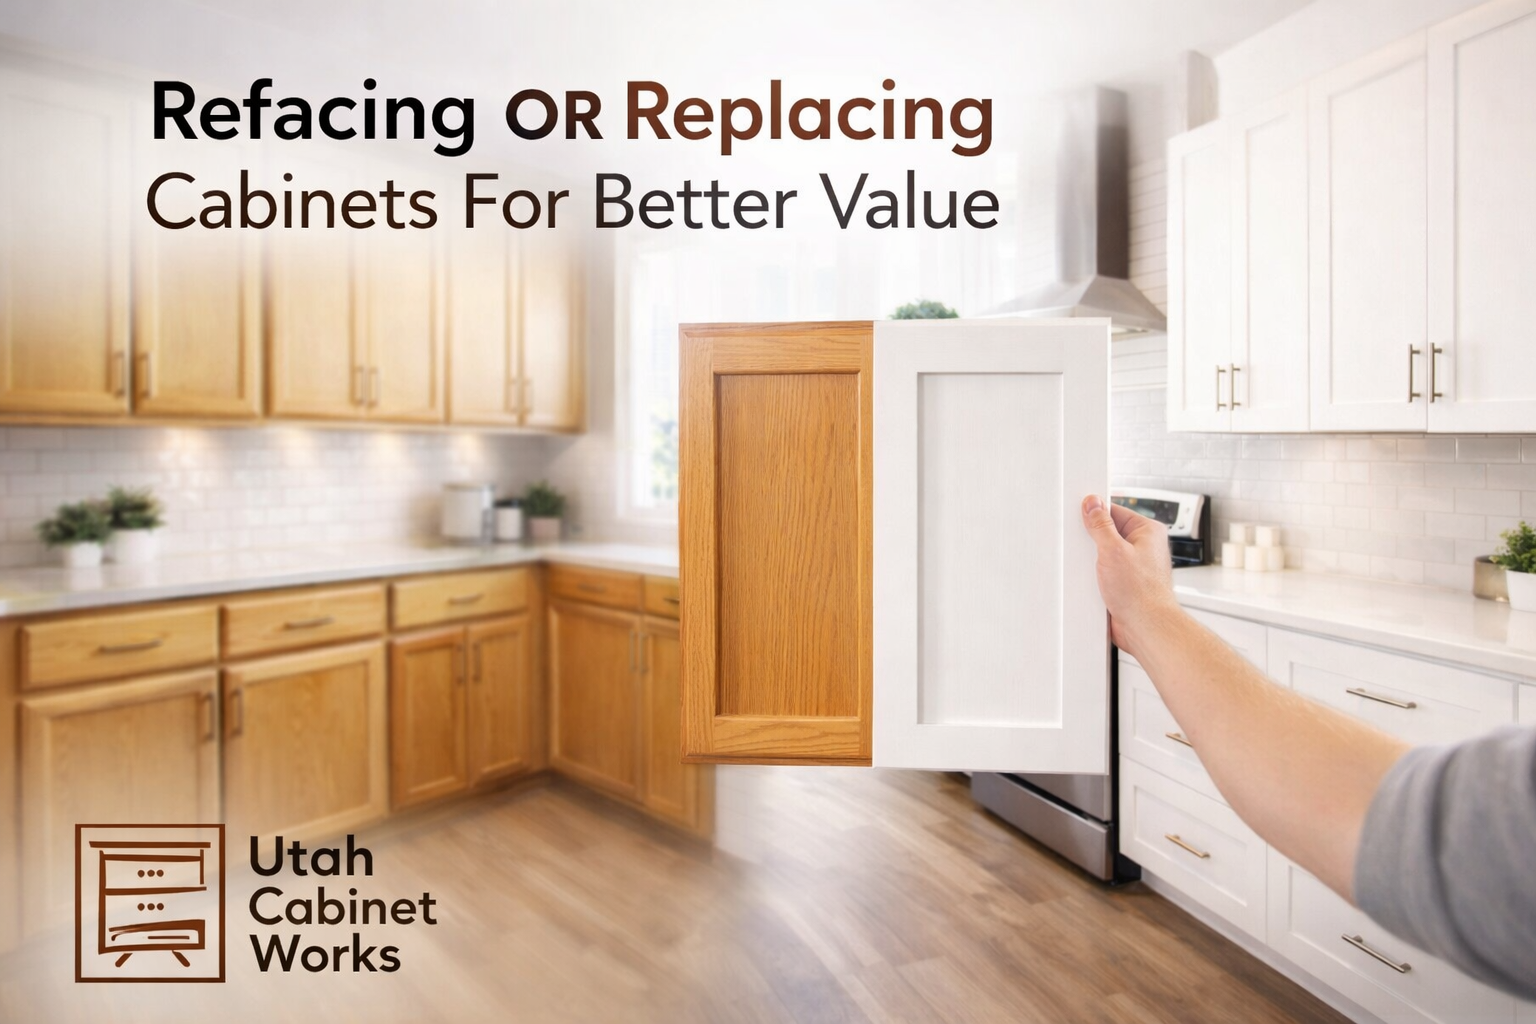
Kitchen cabinet refacing replaces only the visible surfaces, doors and drawer fronts, while keeping the existing boxes. It works best when the boxes are solid wood and structurally sound; when they are not, replacing the boxes while reusing the layout is more durable.
Keeping the footprint avoids moving gas lines, water supply, and drain stacks, the moves that drive most of the cost and delay in a kitchen remodel. If the layout already works reasonably well, refining it beats rebuilding it.
Structural Layout Modifications for 70s Footprints
Structural layout changes for 70s footprints usually mean removing a soffit, extending cabinets to the ceiling, and reworking the peninsula or island to open sightlines into an adjacent family room, altering how the kitchen feels without touching load-bearing walls.
A common mistake is assuming every wall is load-bearing. Many 70s ranch kitchens have a partial wall or pass-through that can be opened up with proper engineering. Where a wall does carry load, a flush beam can often replace it, but that decision belongs to a licensed structural professional, not a cabinet installer.
Three modifications deliver the most impact for the least disruption:
- Removing the soffit to allow full-height upper cabinets
- Replacing a closed peninsula with an open island
- Converting a dead corner into a lazy Susan or pull-out
Each uses the existing room rather than adding square footage, the whole point of working with the footprint instead of against it.
Best Practices for Retrofitting Cabinets in Ranch-Style Homes
Retrofitting cabinets in ranch-style homes starts with measuring the room, not the old cabinets. Because 70s construction is often out of square, record wall lengths at multiple heights and check the floor for slope, those numbers become the basis for custom sizing.
The practical sequence looks like this:
| Step | What You Do | Why It Matters |
|---|---|---|
| 1 | Measure walls at top, middle, and bottom | Catches out-of-square framing |
| 2 | Check floor slope and ceiling height | Determines filler and scribe needs |
| 3 | Map appliance and plumbing locations | Prevents blocking service access |
| 4 | Confirm box condition | Decides reface vs. replace |
| 5 | Order custom boxes to the room | Eliminates forced gaps |
A common mistake is ordering cabinets before the room is measured properly. In a vintage home, a half-inch of variance across a wall is normal and compounds across a run. Custom sizing absorbs that variance in the filler and scribe, where it belongs.
Integrating Modern Appliances into Vintage Cabinet Frames
Integrating modern appliances into vintage cabinet frames requires planning the appliance envelope before the cabinets are built. Today’s refrigerators are deeper and taller than 70s models, and microwaves and dishwashers have their own clearance needs. Custom cabinetry can be built around those dimensions rather than the other way around.
Ventilation and service access matter as much as fit. A panel-ready refrigerator needs airflow at the base and top; a built-in microwave needs a shelf rated for its weight. Get these wrong and you will be pulling cabinets apart to service an appliance later.
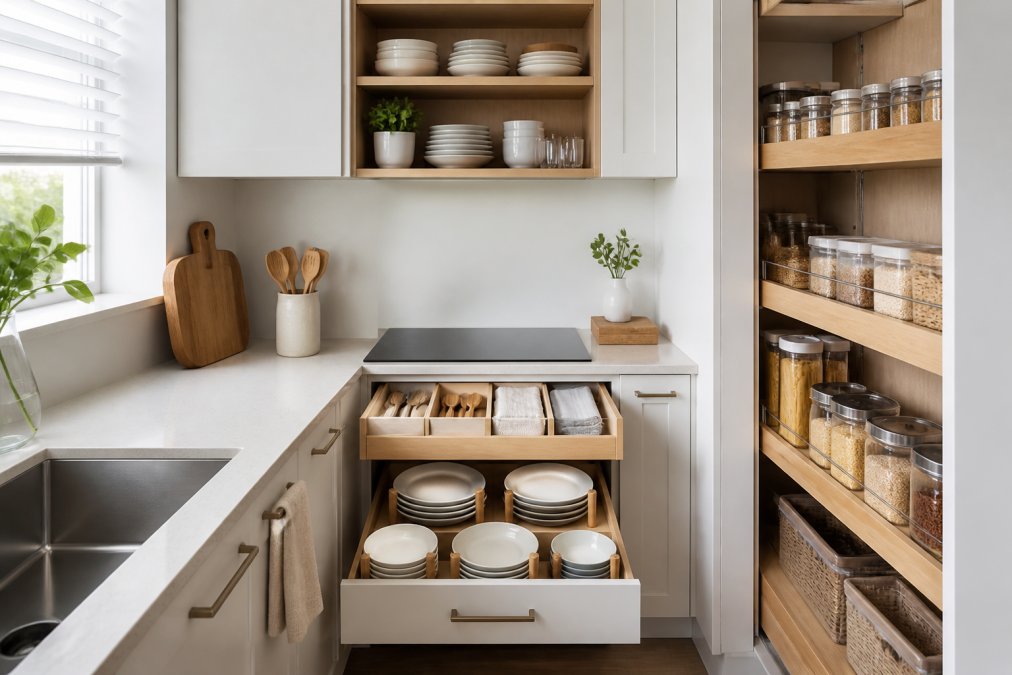
For most 70s kitchens, the cleanest solution is a tall cabinet run housing the refrigerator, oven, and microwave in one column. It reads as custom millwork, hides appliance depth differences, and adds pantry storage above and below.
Kitchen Cabinet Replacement Cost 2024: What to Expect
Kitchen cabinet replacement cost depends on cabinet count, door style, material, and whether you reface or replace. Rather than quote a single number that will not survive your actual layout, understand the cost structure and the levers that move it.
Most projects fall into one of three scopes, and the scope, not the finish, is what drives the total:
| Scope | What It Touches | Typical Cost Driver |
|---|---|---|
| Refacing | Doors, drawer fronts, veneer on boxes | Linear feet of cabinetry |
| Box replacement, same layout | Boxes, doors, hardware, toe kick | Number of boxes |
| Layout change | Boxes, doors, hardware, plus plumbing/electrical relocation | Trades and permits |
Refacing is least expensive because it reuses the existing boxes and leaves plumbing and electrical rough-ins untouched. Replacing boxes in the same footprint costs more, you pay for new carcasses but avoid trade work. Changing the layout is most expensive, pulling in a plumber, an electrician, and often a permit.
Box count drives the number more than anything else. Adding full-height uppers, an island, or a pantry expands it, and box count is the single largest cost lever. Door style and material are secondary: a painted shaker door and a stained slab door differ meaningfully in price, but neither moves the total like adding or removing a run of cabinets.
The most expensive mistake in a cabinet project is changing scope mid-build. Adding boxes or moving appliances after fabrication begins triggers rework, and rework is what blows budgets. Lock the design before you sign off.
If you are comparing options, ask each provider to break the quote into boxes, doors, hardware, and installation. That breakdown lets you compare fairly and exposes line items easy to hide in a lump sum, filler, scribe, crown, and toe kick.
Retrofitting Modern Appliances Without Rebuilding the Kitchen
One cost lever most homeowners overlook is appliance integration. A 70s kitchen was built around appliances that no longer exist at those dimensions. A standard 70s wall oven was roughly 24 inches wide; today’s most common are 30 inches (Electric Cooking Products). A 70s refrigerator was often 30 to 32 inches wide and shallower than today’s models, which commonly run 33 to 36 inches wide and deeper for ice makers and larger compressors.
That mismatch is where a custom cabinet run earns its keep: instead of rebuilding the kitchen to fit a new appliance, build the cabinetry around the appliance envelope. The sequence matters:
- Choose the appliances first, and pull the spec sheets. Width, height, depth, and clearance requirements are all on the sheet.
- Note the service access. A panel-ready refrigerator needs airflow at the base and top. A built-in microwave needs a shelf rated for its weight. A dishwasher needs its water, drain, and electrical connections reachable without pulling the cabinet apart.
- Give those dimensions to the cabinet maker before boxes are cut. A tall cabinet column that houses the refrigerator, oven, and microwave in one run reads as custom millwork, hides the depth differences between appliances, and gives you pantry storage above and below.
A common pattern: frame the refrigerator in a tall cabinet with a panel front, set the wall oven and microwave in an adjacent tall column, and let the counter run continue uninterrupted. That solves the dimension mismatch and the visual clutter at once.
Appliance dimensions are a design input, not an afterthought. Choosing appliances before cabinets are fabricated is the cheapest way to avoid rework later.
Appliance clearance and installation specifications
Design Choices That Work for 70s Custom Cabinets
Design choices for 70s custom cabinets should respect the home’s architecture while updating its finishes, not erase the era, but make it feel intentional. Slab-style doors and clean lines suit a ranch home better than ornate raised panels, and low ceilings reward cabinetry that reaches the ceiling rather than stopping short.
Two directions consistently work: a warm, organic modern look with natural wood stain on the island paired with painted perimeter cabinets, or a crisp, light palette of white or off-white uppers with a deeper base color for grounding. Both read as updates rather than renovations, which keeps a 70s kitchen from fighting its own bones.
Door style is the first decision because it sets the room’s visual weight. A shaker door, flat center panel, square frame, is the most versatile and works in both palettes. A slab door is cleaner and more contemporary, suiting a ranch home’s horizontal lines. Raised-panel doors, common in original 70s cabinetry, look heavy under standard eight-foot ceilings.
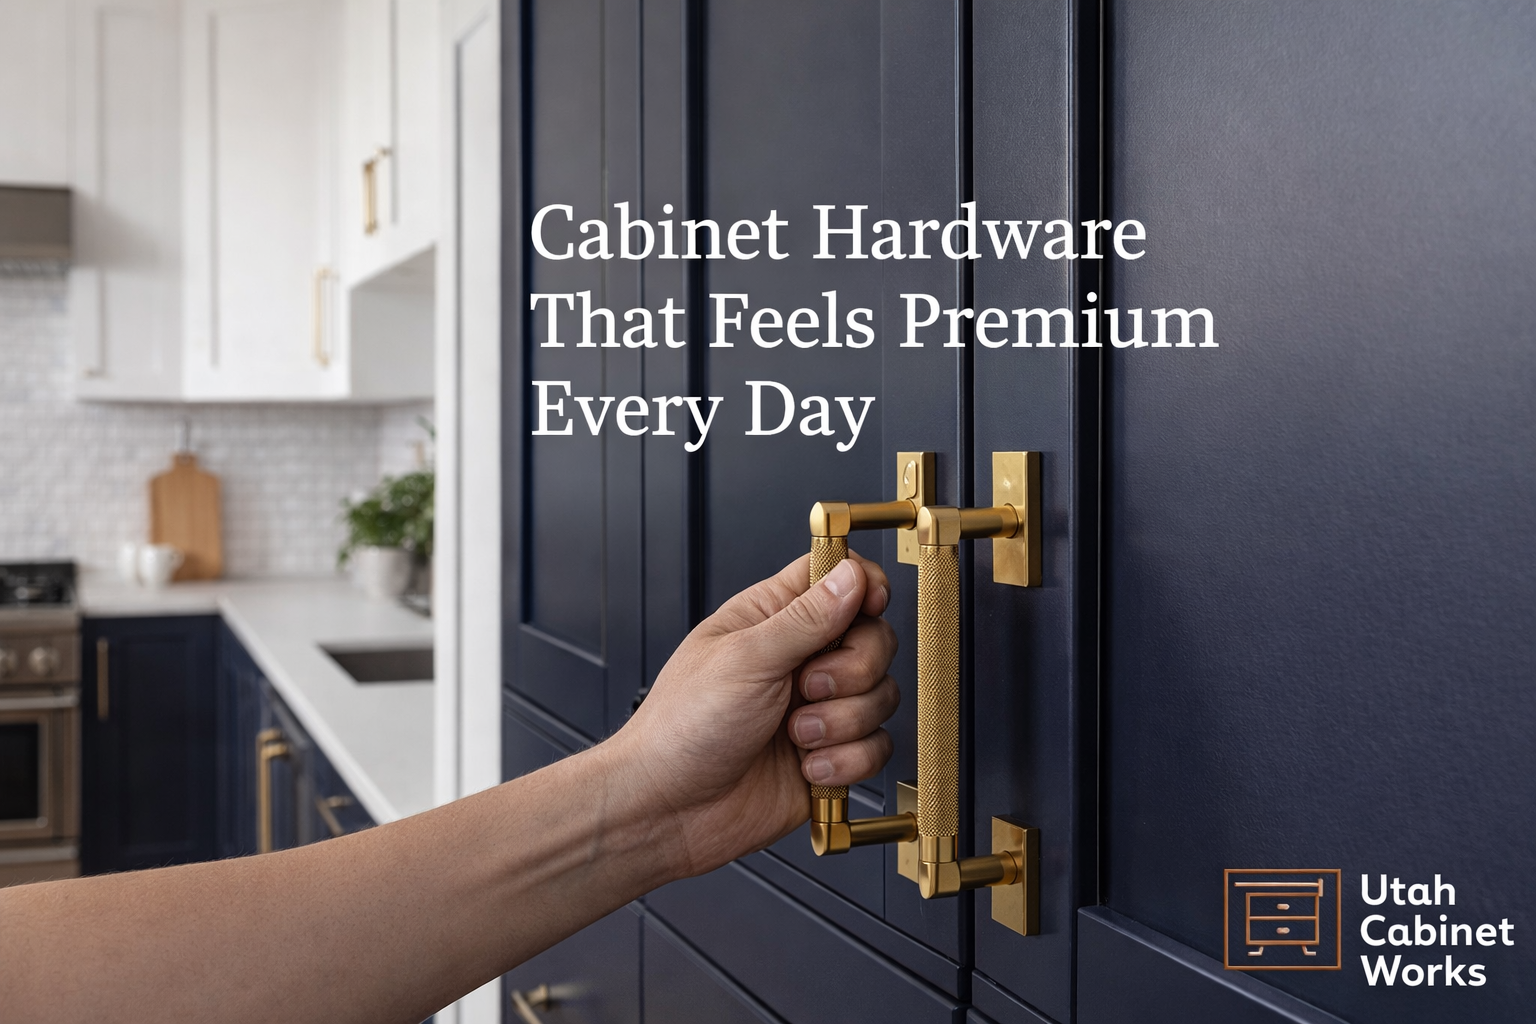
Hardware is where a small budget goes a long way. Simple bar or cup pulls in a matte finish read as period-appropriate without looking dated; cup pulls echo the original 70s hardware without reproducing its wear. Mitered countertop or island edges add a tailored detail flat edges lack.
Two-Toned Cabinets and Wood Stains
Two-toned cabinets pair two finishes in one kitchen, usually a painted upper and a stained or darker lower. This breaks up a long run of cabinetry and adds visual height under standard ceilings, one of the most requested updates for 70s kitchens.
Mixing wood stains and painted finishes works when the split has clear logic, stained island with painted perimeter, or stained base with painted uppers. The rule that keeps it cohesive: pick one finish as the anchor and let the second support it. If the island is the anchor, the perimeter should be quieter; if the perimeter is the anchor, the island can carry more visual weight.
For a vintage home, a medium wood stain on the island ties the kitchen to original trim and flooring elsewhere. That continuity makes an updated kitchen feel like it belongs: a stain matching the home’s existing oak or walnut trim reads as original, while a painted island in a color pulled from the adjacent room does the same job differently.
Finish sheen is the detail most homeowners get wrong. Flat or matte hides imperfections and reads contemporary but shows fingerprints in a high-traffic kitchen. Satin is the middle ground and most common for painted cabinets. Gloss is the least forgiving and least period-appropriate for a 70s home.
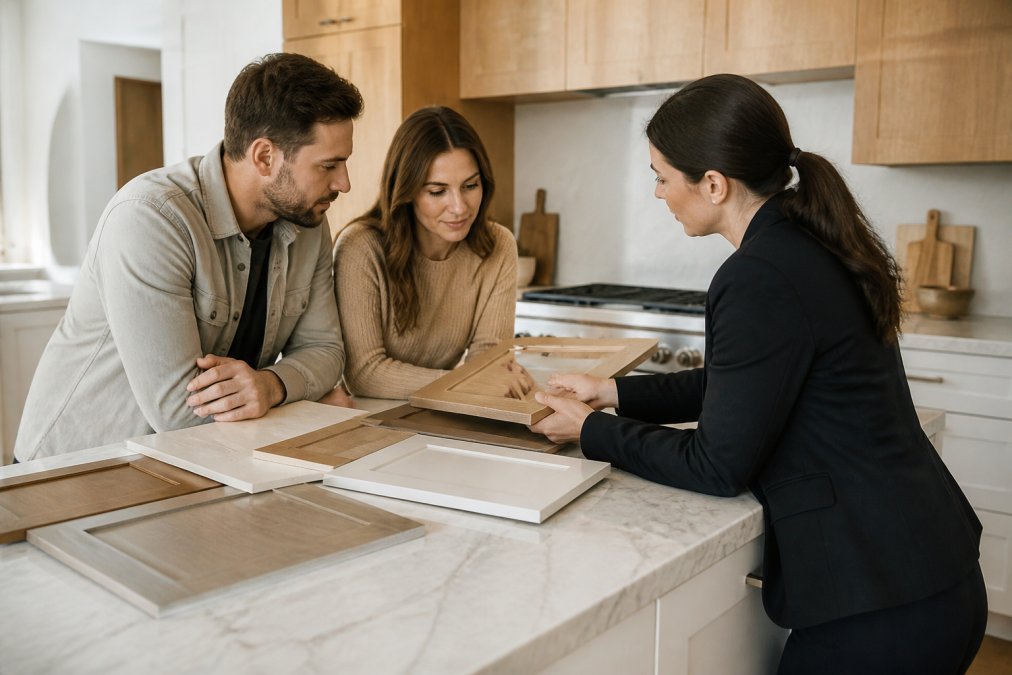
Order a physical sample door in your chosen finish and hold it against your existing trim, flooring, and countertop in the actual room light. Screen colors and showroom lighting both lie.
A common pattern: keep the perimeter painted and quiet, let the island carry the stain, and use hardware as the single accent tying the two together. That formula is hard to get wrong and easy to adjust later if the room’s light changes.
Material Durability for High-Traffic Ranch Kitchens
Material durability matters most in high-traffic ranch kitchens, where the kitchen doubles as the main gathering space and doors and drawer fronts take constant use. Plywood boxes with solid wood or high-quality plywood doors hold up far better than particleboard over time.
Finish durability is the other half. A catalyzed or conversion varnish finish resists moisture and daily wiping better than basic lacquer, a difference that shows up within a few years for families with kids or pets.
- Plywood cabinet boxes resist moisture and hold screws better
- Solid wood or plywood doors survive repeated opening and closing
- Catalyzed finishes stand up to cleaning and humidity
- Soft-close hinges reduce wear on doors and frames
Hinge replacement is a small but telling detail. Old 70s hinges were often exposed and non-adjustable; modern concealed soft-close hinges are a straightforward upgrade that changes how the kitchen feels day to day.
Conclusion: Making Your 70s Home Work for You
The challenge with any 70s kitchen is that the room was built for a different decade, and stock cabinets will always fight that reality. Custom cabinets for 70s home layouts end the fight by sizing the cabinetry to the space you actually live in.
Utah Cabinet Works handles the full scope, from design through fabrication and final installation, with custom cabinetry tailored to your home’s specific layout and storage needs. Our team focuses on durable materials and precise craftsmanship so the result holds up for the long term.
Get a free quote from Utah Cabinet Works and turn your 70s kitchen into a space that finally works the way you need it to.
Frequently Asked Questions
How much does kitchen cabinet replacement cost in 2024?
Kitchen cabinet replacement cost in 2024 varies widely based on materials, size, and whether you choose stock, semi-custom, or custom cabinets. Custom cabinets typically cost more than stock options because they are built to your exact specifications. For an accurate quote tailored to your 70s home layout, contact Utah Cabinet Works directly. They can provide a detailed estimate after assessing your space.
Can custom cabinets fix my 70s home’s uneven walls and out-of-square corners?
Yes. Custom cabinets are built to fit your home’s specific dimensions, including out-of-square corners and uneven walls common in 1970s construction. During the design phase, precise measurements are taken, and cabinets are fabricated to match. This ensures a seamless fit without the gaps or filler strips often needed with stock cabinets. Utah Cabinet Works specializes in these types of retrofits.
How do you integrate modern appliances into 70s cabinet footprints?
Integrating modern appliances into 70s cabinet footprints requires careful planning. Standard appliance sizes have changed, so custom cabinet frames can be built to accommodate new refrigerators, dishwashers, and ranges. This may involve modifying base cabinets, adjusting upper cabinet heights, or creating custom panels. A professional designer can ensure your new appliances fit seamlessly while maintaining the kitchen’s aesthetic.
Are custom cabinets worth the investment for older home layouts?
Custom cabinets are often worth the investment for older home layouts because they solve unique challenges like odd angles, uneven walls, and non-standard dimensions. They maximize storage and improve functionality while providing a cohesive look. While the upfront cost is higher than stock options, the long-term durability and tailored fit can add value to your home. Utah Cabinet Works offers free quotes to help you decide.